As I’m getting started with all things Containers, I’m reading the Kubernetes Up & Running book. Unfortunately some of it is already a little beyond me, so I’ve had to do some digging with each new page I read. For example, storing a Docker Image in a public repository is something pretty new to me. So, hopefully I can help anyone else struggling with this blog. After stumbling through, here’s what I came up with.
My Setup
First of all, I should say I’m using Windows 10 and executing my commands via PowerShell. I know, you all hate me, but I stand by my Microsoft loyalty. I’m also using the current stable version of Docker (Community version), 17.09.0-ce. That’s really all I had installed before I decided to get into the whole public cloud image repository thing.
I’m going to keep this generic…so we could be talking about any image here. Whether it’s Hello-World or something you got from the Docker Hub/GitHub or something you created yourself. But whatever it is, it currently resides on your local computer. Now, there’s not really a problem with this except that it’s not incredibly efficient when you want to spin up many containers in different places, or keep an updated version of it in a place where multiple people can access it, and of course so you don’t just lose it if your hard drive goes bad or your computer gets stolen.
I already mentioned Docker Hub, which I think is probably a great repository to use, especially for a newb. But I’ve been interested in exploring more cloudy things lately…so I figured I’d take advantage of the free trial offered by Google Cloud. First things first you obviously have to sign up. You do have to give your credit card info, but they guarantee they won’t charge you until after you’ve opted in explicitly to move beyond the free trial.
Google Cloud Platform
Next you need to create a new project on the Google Cloud Platform. If this is your first time logging in, it will likely prompt you to create a new project. In which case you can just change the name to whatever you want. You can also create a new project by clicking on the Project drop-down in the upper left. Here you can see your current projects or click the plus button to create a new one.
NOTE: Your Project ID is also listed here, which is usually your project name followed by a dash and some numbers.
Once you’ve created your project and then selected it to Open you can then scroll down to the Container Registry, which is under Tools in the upper-leftmost dropdown menu. At this point you’ll likely need to enable the Container Registry.
Now, back to PowerShell. At this point I tried to push my image up to the GCR (Google Container Registry) but I kept getting permission issues. Apparently this is because I didn’t have the Google Cloud SDK loaded. I tried to install the module in PowerShell by running the command:
Install-Module GoogleCloud
It installed the module successfully. Then I tried to push the image again and still got the same error. That’s when I downloaded and installed the actual Google Cloud SDK for Windows. Once it runs through the install, which takes a few minutes so don’t get nervous, you can leave it checked to run the command
gcloud init
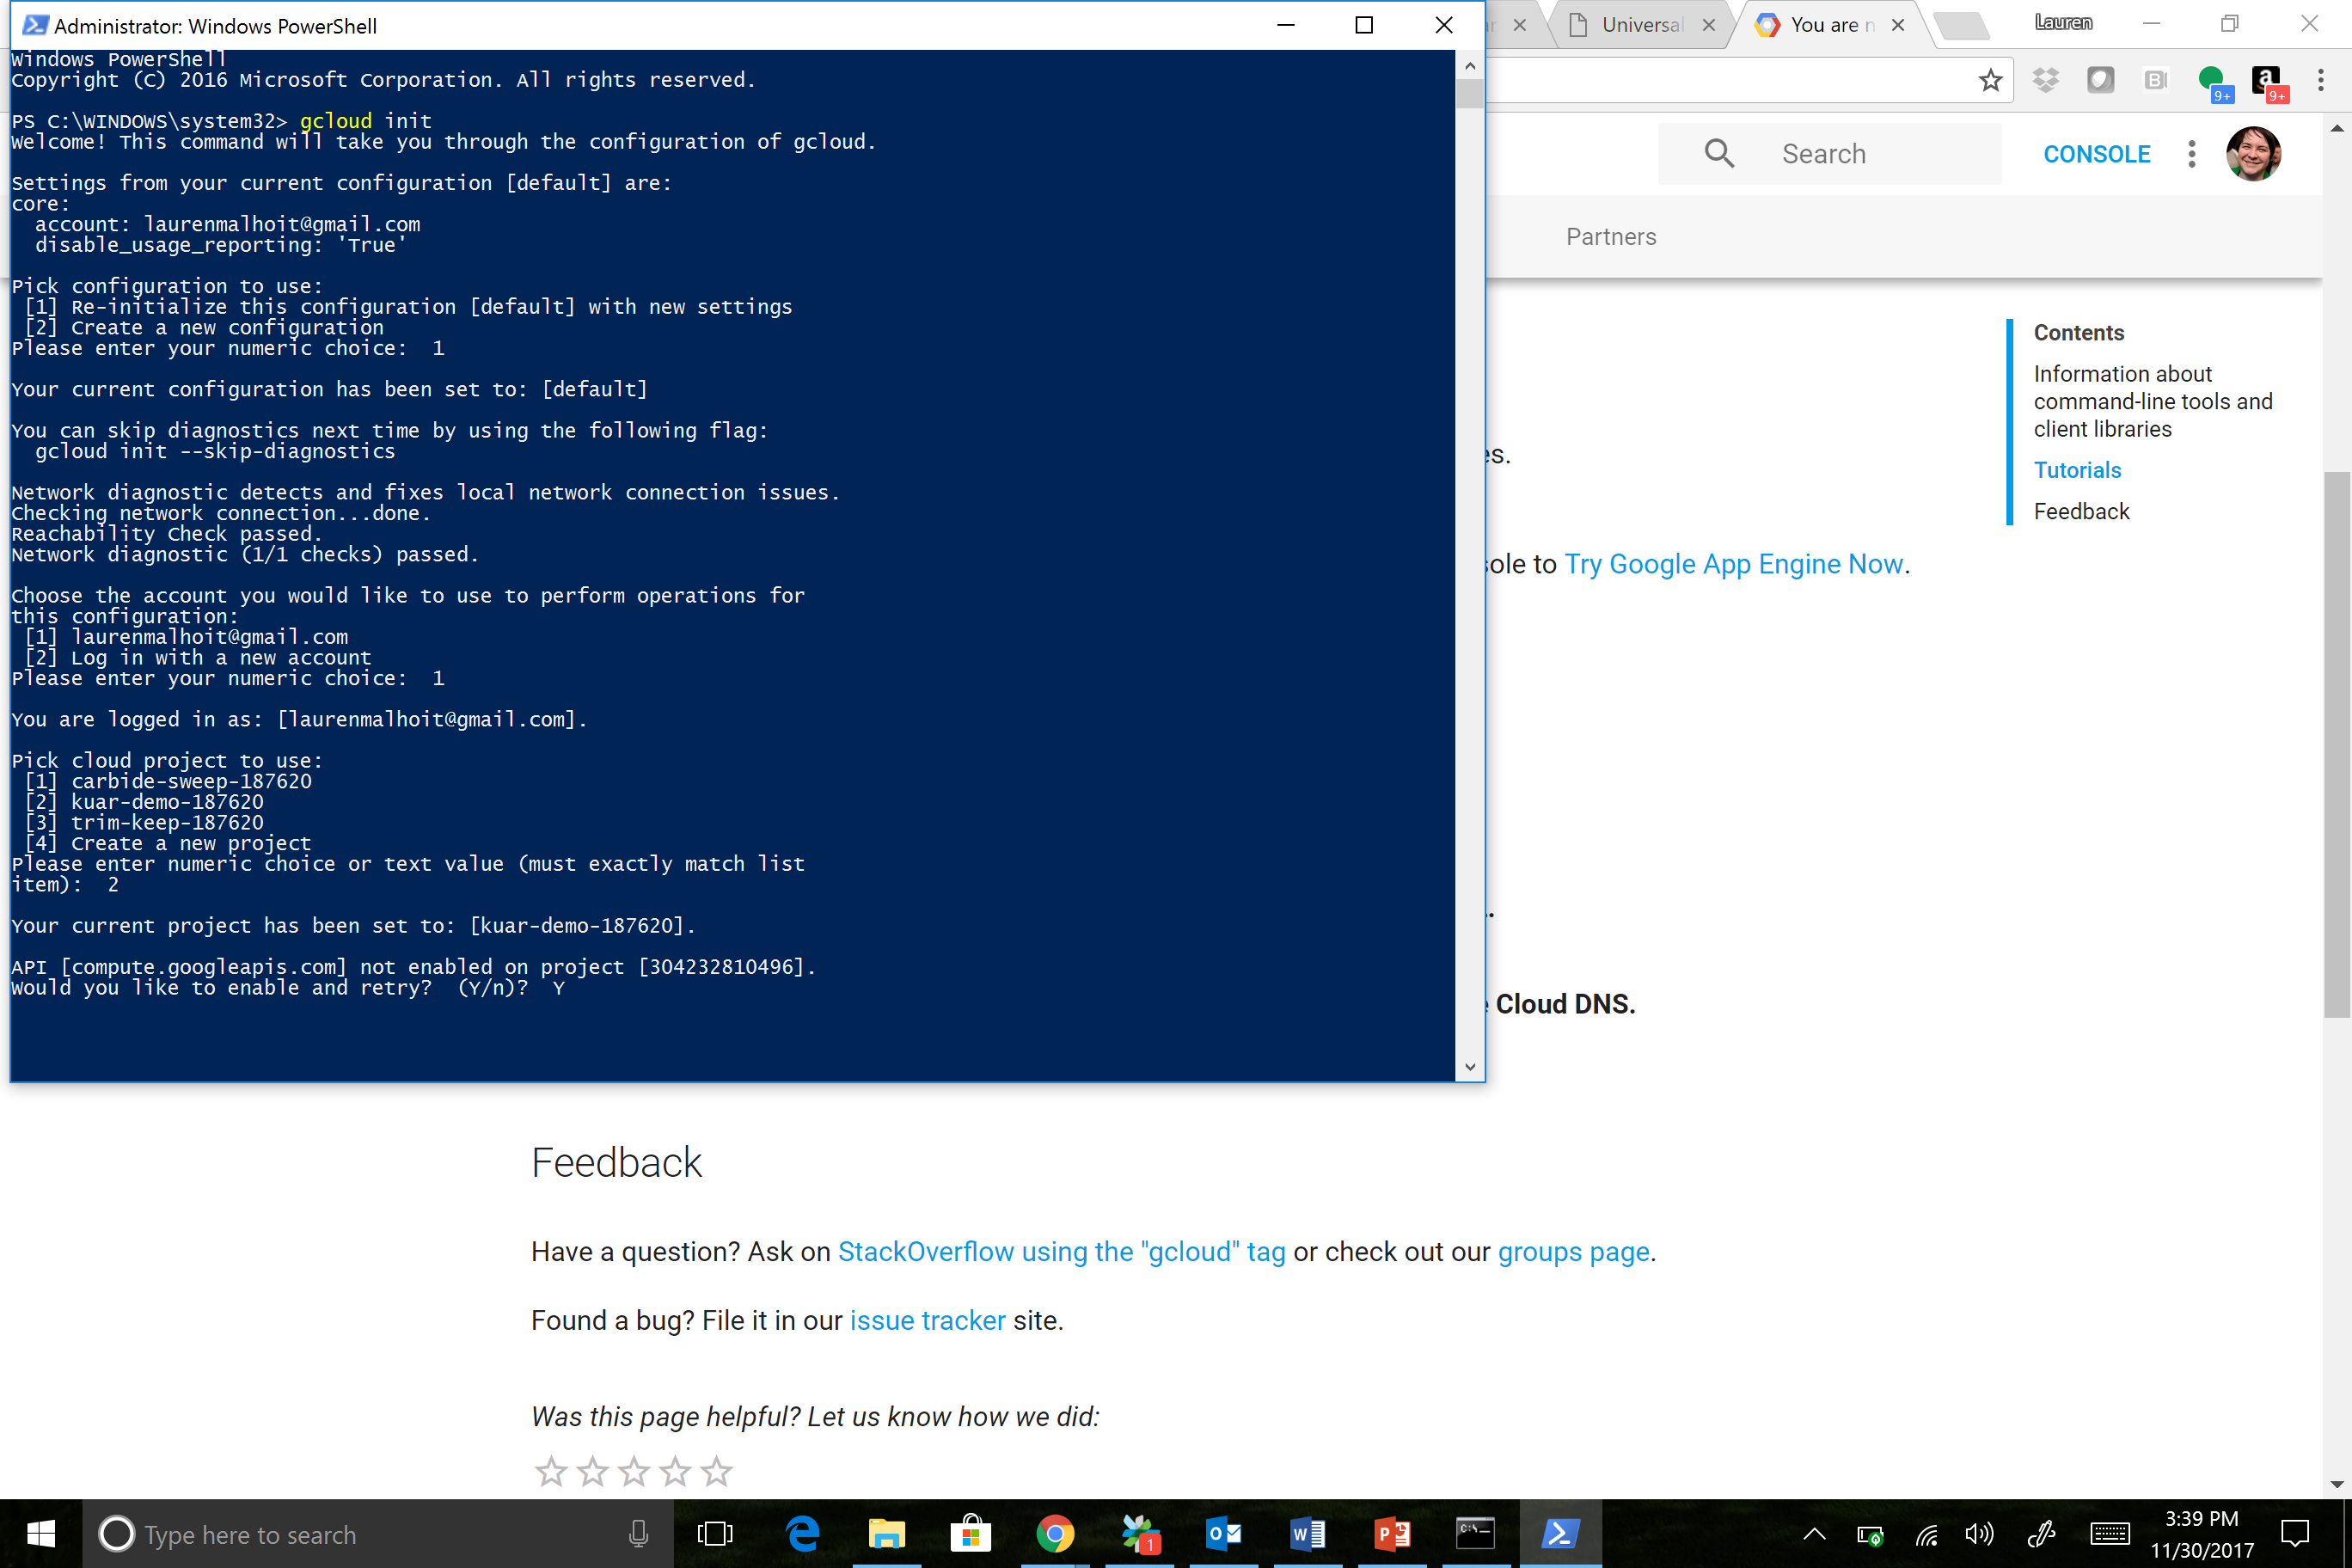
for you, but I opted to run it myself in my PowerShell terminal. Make sure you have PowerShell open as an administrator. You can pick the configuration you want it to run, I chose the default. Then you choose the account you want it to use to sign in. Use which ever account you used to sign up for the Google Cloud Platform. If you have multiple projects, it will give you the option to choose which project you want to log into, make sure you pick the project where you enabled the Container Registry. It may ask you to enable the API on the project, which I went ahead and did. You can also configure some settings, such as where in the world you reside (or where you want your project to reside).
Guess what happened this time when I tried to run the push? I still got the permissions error! So at this point I ran through a couple of commands within PowerShell.
gcloud components install docker-credential-gcr
The gcloud components install command lets you install specific Google Cloud Components, specifically the docker-credential-gcr in this case. The docker-credential-gcr is the Docker credential helper. It allows us to make authenticated requests to GCR from PowerShell.
docker-credential-gcr configure-docker
This command configures PowerShell to use docker-credential-gcr as its credential store. Finally, I was able to push my image. I’m not sure if you have to go through all of this using Linux or Mac, and it’s really not that difficult now that I have it configured.
Pushing the Images
In order to push images to the GCR you need to run a couple commands.
docker tag gcr.io//
So basically we’ve tagged the image with the name. It could be looked at as documenting your image and/or keeping track of versioning. You could tag your image with a version number and then do the same as new patches and releases are out.
So, my command actually looked like this:
docker tag kuard-amd64:1 gcr.io/kuar-demo-187620/kuard-amd64:1
Notice I’m using the Project ID, not the Project Name with “kuar-demo-187620.” Now, I’m ready to push the image.
docker push gcr.io/kuar-demo-187620/kuard-amd64:1
The docker push command is what tells the image to go live somewhere else, specifically the Google Cloud Registry within my project kuar-demo-187620.
I can now go refresh my project in the Google Cloud Platfrom and see my image in the Google Cloud Registry. It’s ready for use in other places now.
If you have any questions, comments, corrections, feel free to reach out to me on Twitter @malhoit.